

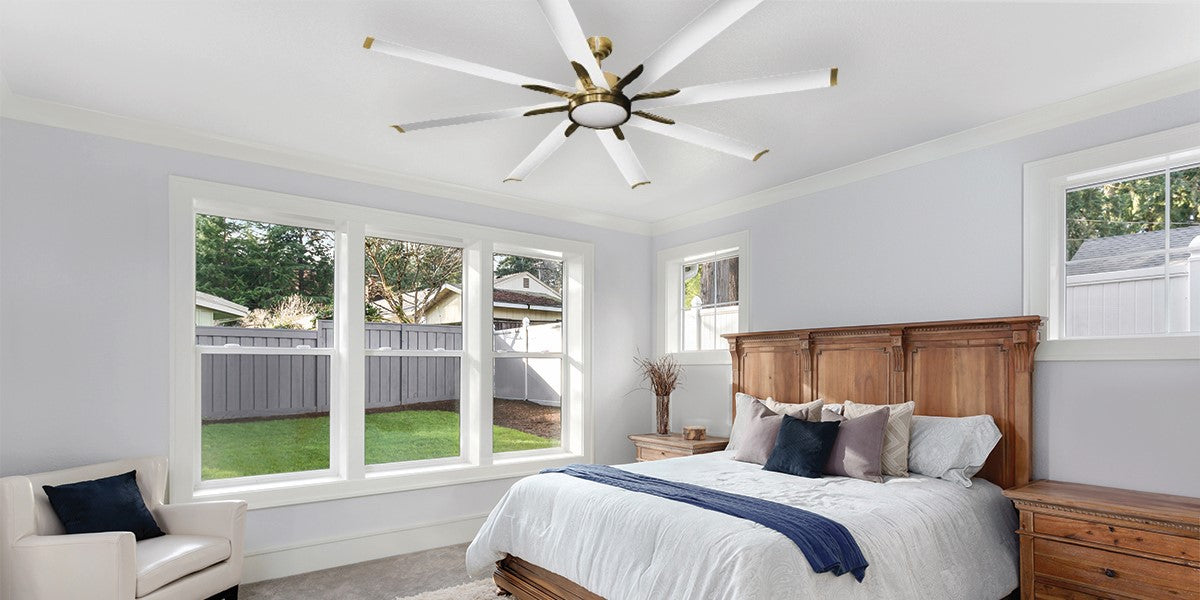


Installing a ceiling fan can boost both your home’s comfort and energy efficiency. Whether you’re replacing an old fan or adding one for the first time, this guide will walk you through everything you need to know — from prepping the area to fixing common issues.

Step 1: Cut the Power
Before you do anything else, turn off the electricity at the breaker box. This is a crucial safety step. Use a voltage tester or multimeter to confirm that no power is flowing to the ceiling wires.
Step 2: Verify Your Ceiling Box
Not all electrical boxes are made to hold a ceiling fan. Check if the one in your ceiling is fan-rated. If it's not clearly marked or you’re unsure, it's best to replace it with one specifically designed to support the weight and movement of a fan.
Step 3: Gather Your Tools and Hardware
Make sure you have basic tools like screwdrivers, wire cutters, a voltage tester, and the fan's mounting hardware ready to go.
Step 4: Install the Mounting Bracket
Secure the mounting bracket to the ceiling box using the screws provided. This part holds the entire fan assembly, so make sure everything is tight and stable before moving on.
Step 5: Assemble the Fan Motor and Downrod
If your fan uses a downrod, thread the wires through it and attach the rod to the fan motor base. Tighten all screws and pins to ensure stability. Some fans come with flush-mount options for lower ceilings — follow the manufacturer’s assembly instructions accordingly.
Step 6: Connect the Wiring
Match the ceiling wires to the fan wires as follows (colors may vary slightly):
- Black (fan power) to black
- White (neutral) to white
- Blue (light kit, if included) to your wall switch wire
- Green or bare copper (ground) to the house ground wire
Secure each connection with wire nuts, wrap them with electrical tape, and gently push the wires back into the ceiling box.
Step 7: Attach Blades and Light Kit
Install the fan blades using the screws provided. Make sure each blade is aligned and tightened evenly to prevent wobbling. If your fan includes a light kit, connect it to the appropriate wires (usually blue and white) and attach it to the bottom of the fan housing.
Step 8: Turn the Power Back On and Test
Restore power at the breaker and test the fan and light (if applicable) using the wall switch or remote. If something isn’t working correctly, move on to the troubleshooting tips below.
https://youtu.be/0Aej3uA_x-o?si=8Vz7yVAuGyzE87Xn
Final Installation Tips
- Don’t connect your ceiling fan to standard dimmer switches unless they’re designed for fan use.
- Use the proper wall control or remote that comes with the fan.
- For complex installs or electrical uncertainty, consult a licensed electrician.
Ready to Upgrade Your Ceiling Fan?
A ceiling fan can make your space more stylish and energy-efficient — and with the right prep, it’s a project you can tackle in a day. Explore our full selection of indoor and outdoor ceiling fans here!